Tips for Making Your Own Mask
Before volunteering with Sew Helpful to make 48 masks for health care workers, I was working on my own DIY masks out of scrap material that I had lying around for personal usage. It took me a long time to come up with something I was happy with. When I volunteered, I learned a new method of doing them and I also learned that they could be improved upon after washing them. When my cousin asked me to make 14 for her I was eager to improve these designs.
I wanted to share some tips on mask making with you all. I've read a lot of forums and comments on Youtube tutorials and I wanted to highlight some of them.
Tip #1. What pattern style should I follow?
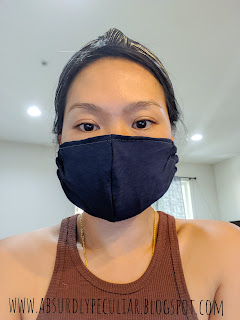
The one on the left was my very first mask and has a seam in the middle while the one on the right has folds and no seam in the middle. I seriously chose the seam down the middle design first because I thought it looked "cool". The one on the left was leftover material I used for lining for a dress with a layer of canvas sewn on to the inside and leftover midori notebook elastic. I was discussing the pros and cons with my boyfriend and it was brought up that the seam is right where all the critical parts of your face that you are trying to protect from the virus. Someone in a forum also brought up this same point as well as another good point... if the surgical mask design is good for doctors then why go with anything else? So then I developed this design with no pattern:
 |
| My second design with 2 folds, no seam down the middle. 1 layer of sewn canvas in between, 18 gauge floral wire for the nose and leftover midori elastic with adjustable straps. |
Tip #2. Use different prints/colors for the "exposed" side and "non-exposed" side.
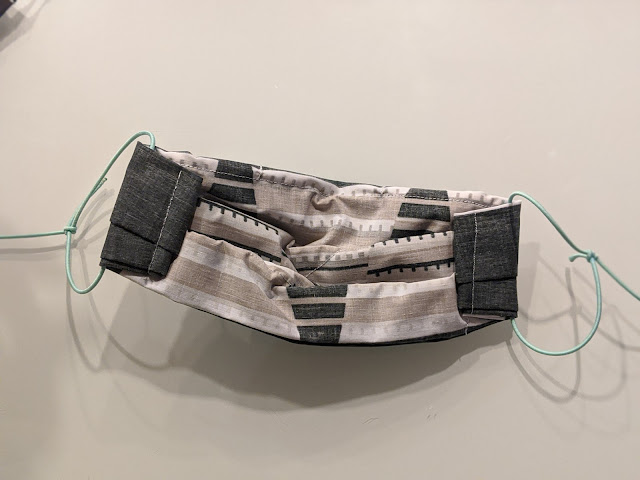
Depending on who you are making this mask for it could be good to have a different color for the outside layer and the backside layer. Some of the health care workers we were making these sewn masks for were workers who were only given one N95 mask to use. So in order to keep their N95 fairly clean they would wear these sewn masks on top. I read on some forum that using different colors or prints makes it easier for health care workers to tell which side has been exposed and avoid contamination.
2nd Design- Back Side
Tip #3. Include wiring for the nose and secure it.
Since our faces are all differently shaped... I find it has been helpful to include the nose wiring piece. It can also prevent glasses from fogging up. Material that you can potentially use include: paper clips, pipe cleaners, floral wire (I used 18 gauge and it is pretty strong), copper wire (for electrical stuff). When I first made my masks I included a floral wire that was ~6" long along the bridge of the nose and I would hand sew each piece into the mask to make sure it would stay put.
 |
| 18 gauge floral wire |
 |
| 18 gauge floral wire sewn onto canvas |
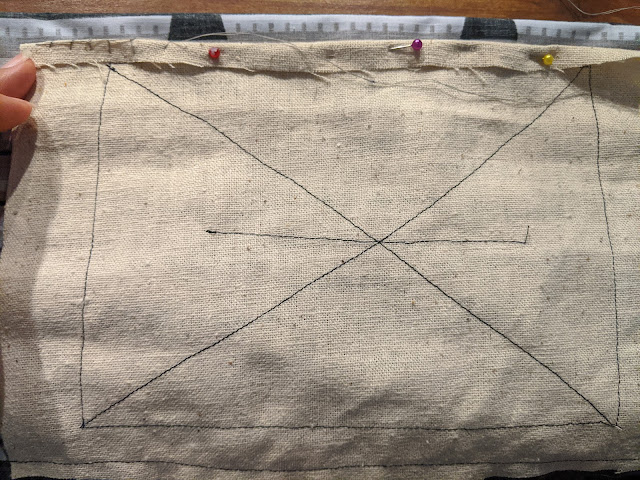
When I volunteered, it said to just make a box around the wire so it would stay put and I was like cool! I don't have to hand sew anything.. this will save me so much time. It wasn't until after washing these masks that I realized... the pipe cleaners MOVED A LOT. .. like moved outside of the box I sewed. So I had to fix a lot of these masks. What I should of done was this:
 |
| Copper Wire sewn into fabric |
I should of looped the ends of the wire and sewn them in place, then sew a box around them. If you are nervous about the wire still escaping the sewn box I would say to maybe go for a bigger sized wire also.
#4. Inner layers.
You should use whatever you have available, but when I first started I used a layer of canvas that I would sew in. But while volunteering, they gave me Pellon 931TD Midweight Fusible Interface. I never used this before, but you can iron it on and is way less time consuming that sewing. The Joann's tutorial would use it on both sides of the fabric so essentially it would be a 4 layer mask.
#5. Wash on delicate and air dry if possible.
Sometimes I catch wires poking out of the cloth. Handle with care when washing.
#6. Choose your over the ear material carefully.
I started with using the midori elastic.. while it is fine for short uses... whenever I would wear them for a long period of time the back of my ears would hurt! So be careful about the material you choose and length you choose. Even though a tighter mask helps prevent anything from getting in, if you are taking off your mask because it becomes uncomfortable... then that is another problem! When I volunteered they gave me a this soft white flat elastic that I have never seen before. If you know what this type of elastic is and where to get it.. please message me!
I think those are all the tips I can remember at the moment. I will be sure to update when my cousin receives hers. I'm sure she will have more to say since she is a family of 5 and there will be many opinions. I also made her kids masks... but am a little nervous about those since I have no kids at home to test them on! I'm hoping this helps anyone who plans on making their very own DIY face mask. Stay safe everyone!


Comments
Post a Comment