DIY: Wall Art
This past weekend, my friend wanted to add some art to her walls. At first we attempted this design from Make Under My Life:

but then we realized we forgot to print the stencils and didn't want to mess it up. So then we decided to follow a DIY art project from The New Domestic:

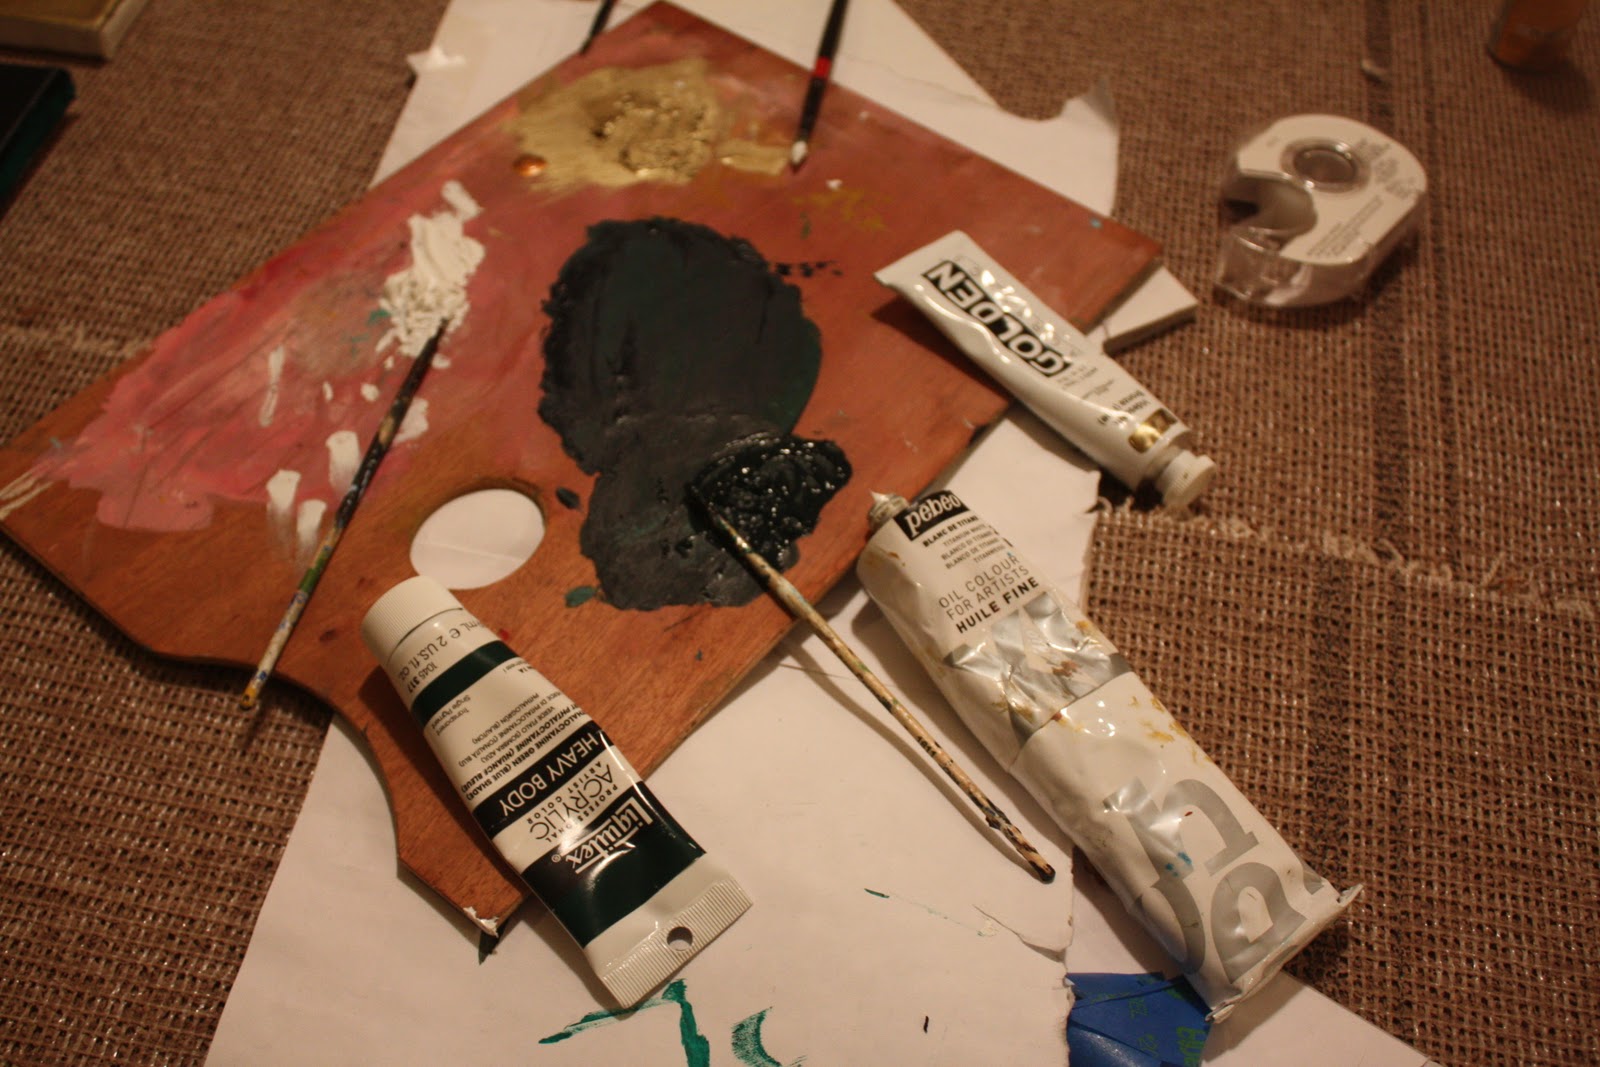
But the problem was that we didn't buy painter's tape as thin as the one they used. So we improvised by cutting smaller pieces of painter's tape and then we finally gave up on that because it took so long, and went with scotch tape. The whole process was super depressing because things kept going wrong...not printing stencils, buying 2" painter's tape, using scotch tape, buying translucent paint, but somehow it turned out ok. To make the paint less translucent, I mixed it with a little black acrylic paint. So it turned into this dark green-like color. And using scotch tape didn't turn out to be such a bad idea.
Things You Will Need: painter's tape (in a decent size...probably 1" or less), acrylic paint (we bought two colors), paint brushes, canvases


Even though things didn't go the way we planned, we actually liked how it turned out in the end!

But the problem was that we didn't buy painter's tape as thin as the one they used. So we improvised by cutting smaller pieces of painter's tape and then we finally gave up on that because it took so long, and went with scotch tape. The whole process was super depressing because things kept going wrong...not printing stencils, buying 2" painter's tape, using scotch tape, buying translucent paint, but somehow it turned out ok. To make the paint less translucent, I mixed it with a little black acrylic paint. So it turned into this dark green-like color. And using scotch tape didn't turn out to be such a bad idea.
Things You Will Need: painter's tape (in a decent size...probably 1" or less), acrylic paint (we bought two colors), paint brushes, canvases
Directions: 1. Place painter's tape wherever you want the white lines to be 2. Once tape is securely placed, paint away. 3. Remove tape after the paint has dried a litte 4. Make touch ups where paint bled through using white paint
Even though things didn't go the way we planned, we actually liked how it turned out in the end!


Wow. Can't believe these are DIY. Looks gorgeous. You did a great job, despite earlier mess ups.
ReplyDeletewww.thegirlieblog.com
These turned out great! I definitely want to try them too :)
ReplyDeletexx
www.queenoffunkydiy.blogspot.com
Wow amazing DIYs!!! really inspiring!!
ReplyDeletexo,Clochet
I love that chevron print in the first picture - absolutely gorgeous!
ReplyDeleteXO
www.pearlsandpaws.blogspot.com
This turned out great! Definitely perfect for filling up those blank walls
ReplyDeletei love the ombre effect! can't wait to see it when its done
ReplyDeletehttp://underthefluorescents.blogspot.com/
love how it turned out - super creative! Nice pics on your blog, X
ReplyDeletehttp://lr-moonchild.blogspot.com/
great idea!
ReplyDeleteI think these turned out so well, love them !
ReplyDeletedang girl, these look great. super creative!! you did a good job~
ReplyDeletexx,
graceinajar
Love this!!
ReplyDeletexx
that final project still looks great! i love that you guys just made it work! totally inspirational!
ReplyDeleteAmazing!!!!
ReplyDeleteTake a look at my page:
The Spotted Cherry Pie I will be really grateful :)
Have a nice day!
Yeah, it really turn out amazing! I really like it.
ReplyDeleteXX Teresa
great blog.
ReplyDeleteI love the painting the first ones were nice too.
ReplyDeleteAllison, I gave you an award on my blog.
ReplyDeleteBeautiful! Love your blog.
ReplyDeleteFeel free to check out mine at http://thewearwithal.blogspot.com/
I'd really appreciate it.
xx
S
love! x http://www.the-beautiful-things.com/
ReplyDeletelove how yours turned out!
ReplyDeleteThat is really awesome! I've been looking for wall art but didn't want to spend a gajillion dollars but this is even cooler. The pieces you did came out fabulously. Thanks for the idea!
ReplyDeleteWww.Oddnessweirdness.blogspot.com
Great idea! I need some wall art and think I can do this. Thanks!
ReplyDeleteTracie
crackyouwhip.blogspot.com
I love your paintings! The gold and black look really great together and could work in so many different kinds of spaces. LOVE! Come check out the Glitterati :)
ReplyDeletehttp://www.confessionsoftheglitterati.com/
this is so cool!
ReplyDeletehttp://diaryofambitions.blogspot.com/
Oh wow! that is a great DIY!!
ReplyDeletexo