Sourdough Bread Tips
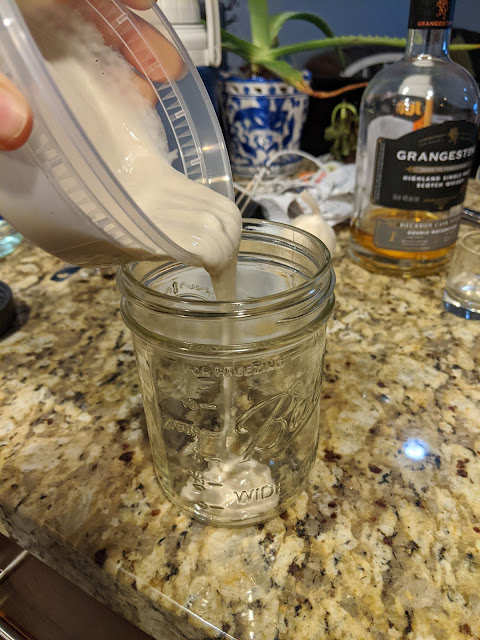 |
| Sourdough Starter bought from Playground DTSA |
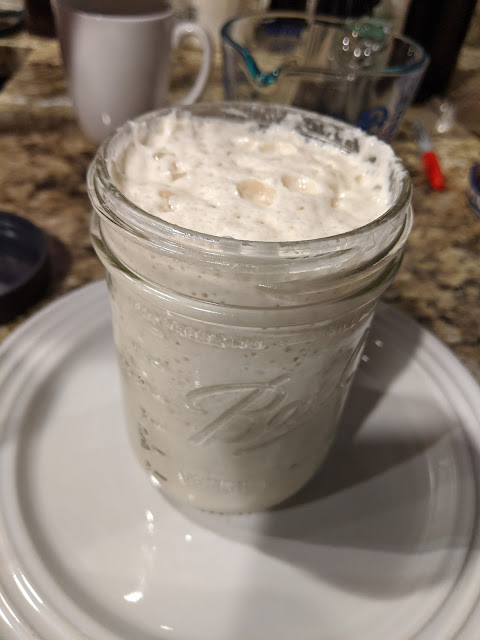 |
| My fed starter |
 |
| 1st Sourdough Bread |
Then I started watching more Sourdough Bread YouTube videos. I found that Joshua Weissman's videos were pretty helpful. I followed his videos, started incorporating techniques from one another to make my own routine. Here are some of the videos I used: No Knead Beginner Sourdough Bread and The Ultimate Sourdough Bread. Mine are still not perfect, but they are getting a lot better! See my two other Sourdough Breads below:
 |
| My 2nd Sourdough Bread |
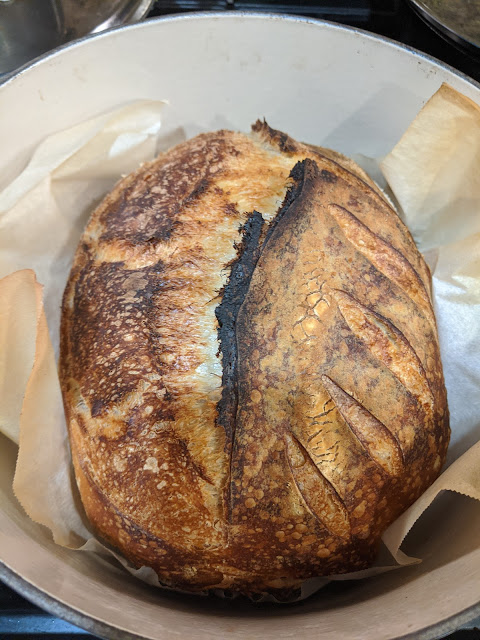 |
| My 3rd Sourdough Bread |
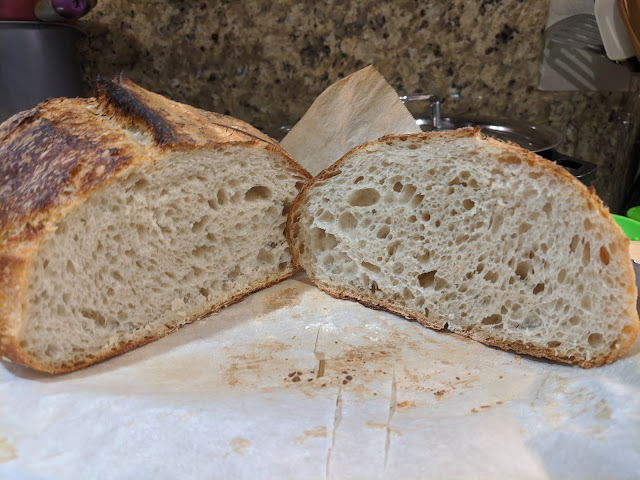 |
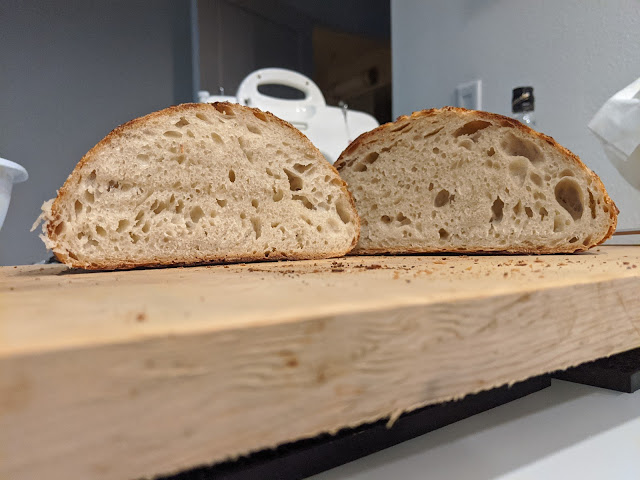
| A look inside my 3rd Sourdough Bread |
I also refuse to feed my starters everyday. It seemed like a waste of flour, especially when it is considered a pretty rare item. So I learned that: 1. You can keep a starter in the fridge so you don't have to feed it everyday 2. I first started feeding it every week on Sundays, but decided I would feed it based on when it was no longer at its highest rise 3. Keeping your starter in the fridge builds up a lot of acetic acid liquids - so this is helpful if you want it to have a sour taste to it 4. A couple days (2-3 days) before wanting to bake your sourdough, I would take it out of the fridge and feed it at least twice a day. I would also observe if its rise and fall are following a good standard pattern. Once it normalizes, that's when you have an idea of when it is ready to bake.
Another piece of advice: I do not have a banneton and used a combo of a a plastic bowl, colander, and cheese cloth. Either use A TON of flour (one time my bread got stuck to the cheese cloth) or try to acquire some rice flour to dust the cloth.
Below, I have listed Weissman's recipe and directions (mostly for myself, so I don't have to watch the videos over and over again).
Joshua Weissman's Sourdough Bread Recipe
For 1 loaf
Levain
Ingredients
22.5g starter
22.5g whole wheat flour
22.5g AP unbleached (I only have bleached and have been using that)
45g H20
Directions:
Start levain some time in the morning (~9:30 am adjust accordingly).
Wait 6 hours or when you levain is on its rise and has flattened out too much.
Dough
Ingredients
136.5g of unbleached Bread Flour
250g of unbleached AP Flour (I only have bleached and have been using that)
87.5g of stone ground whole wheat flour
330g of H20 @ 90-98 degrees F
90g of levain
9g of sea salt
Directions:
1. Around 5.5 hours, like let us say (~ 3 pm), start Autolyse: Mix the bread flour, AP Flour, & whole wheat flour with water. Let it chill for 30 minutes.
2. After 30 minutes, come back to it and add the sea salt and levain on dough. Spread it on top of dough. Dimple it. And stir it a little. Use the rhubaud method if you want.
3. Now bulk fermentation begins (~4:00 pm). Fold.
15 minutes later (~4:15 pm), Fold.
30 minutes later (~4:45 pm), Fold.
Allow dough to rest. It is ready when bubbles have formed on top. That means it is ready. Approximately 3 hours later.
4. Preshape loaves 3 hours later (~7:45 pm). Leave for about 30 minutes (8:15 pm).
5. 30 minutes later, shape loaves and place in proofing baskets. Remember to cover so it doesn't dry out. Proof them for 14-15 hours (~10 am the next day, yes this is a 2 day process).
6. Around 13 hours later (~9:45 am), preheat your oven with the dutch oven inside for one hour at 500F.
7. An hour later, score your bread and then bake at 500F with the lid on for 20 minutes then 475F with the lid off for 25-30 minutes.



Comments
Post a Comment